
"Healthy" Chocolate Cake Without Sugar!
- Barbie Famiglietti

- Oct 6, 2022
- 4 min read

Wouldn't it be a dream to make a dessert that has no sugar in it, so your kids don't get so hyped up before bedtime? But still tastes delicious! Well, here it is! And you're welcome! This is one of my family's Fall Favorites!
My husband has been eating keto for several months, and I find I just cannot do it! I love my fruit too much. But I have been dabbling with keto desserts for the sake of all of us to have a little sweet, but in a healthier way. I made this cake and brought it to a friend's for dinner at their house. It was a hit! Here is the recipe:
Keto Chocolate Cake
(for a double layer cake, you can double this recipe)
1 1/2 cups Almond Flour
1/4 cup Cocoa Powder
2 Tbsp Dutch Cocoa
2 1/4 tsp Baking Powder
1/2 tsp Salt
1/3 cup water or milk
1 1/2 tsp Pure Vanilla Extract
3 eggs
1/3 cup granulated Erythritol & Monk Fruit
(this is a sugar substitute that tastes just as sweet)
I used this one, you can click the pic to see the details
My Rockerbeez is a participant in the Amazon Services LLC Associates Program, an affiliate advertising program designed to provide a means for sites to earn advertising fees by advertising and linking to Amazon.
Keto Chocolate Frosting
1 can Coconut Milk (only the solid part)
1/4 cup Cocoa Powder
3/4 Tbsp Erythritol
1/2 tsp Vanilla
2-3 Tbsp Peanut Butter (you can leave this out is you want straight chocolate)
Making The Cake
Preheat oven to 350F. For a double layer cake (which is what I made) you will want to use 2 eight-inch round pans.

MOM HACK #1:
Cut parchment paper into a circle to fit inside the bottom of each pan. No need to spray cooking oil since this piece of paper will do the job.
Combine dry ingredients for the cake & mix them up with a wire whisk. Add the eggs, vanilla, and water or milk. Continue stirring until everything is combined.
Pour into your prepared cake pans. Bake at 350F for 14 minutes on the center rack.

MOM HACK #2:
The cake is done when a toothpick inserted into the center and comes out clean. My oven is weird, so I had to keep rotating them and putting them back in at 5-10 minute intervals. You can do this if your toothpick is not coming out clean.
Allow cake to cool completely before frosting. I waited to make the frosting until the cakes were all the way cool. This frosting is a little soupy and needs to harden up in the fridge once the cake is frosted.
Making the Frosting

To make the frosting, combine all the ingredients together in a bowl and mix with an electric mixer. Since this was a minor job, I used my hand-held mixer instead of my Kitchen Aid.
After the cakes are completely cooled, turn them upside-down to remove them from the baking pans.
MOM HACK #3:
Before placing the first layer of cake onto your serving platter, spread a layer of frosting in the center of the platter to grip the base. Especially if you are taking your cake in the car, which I was. I have learned from experience that cakes can slide during car rides. A dollop of frosting can act like glue to prevent this. And it is extra yummy!
After the first layer is "glued" in place, use frosting to spread across the top of it. This will "glue" on your next layer, of course!
MOM HACK #4:
Since I love the combination of chocolate and peanut butter, I used a few hefty spoonfuls of peanut butter to act as the middle layer of frosting. It was delicious!

Once both layers set, continue frosting the entire cake. I wasn't sure about the amount of frosting, so I doubled this recipe. Turns out, this was unnecessary since I had so much left over.
MOM HACK #5:
I took some small mason jars, added the frosting in like pudding, and put a dollop of peanut butter on top. This made a nice chocolate mousse dessert that served my family for another night.
Staying in line with my motto of "cook once, eat twice!" We can include dessert on this one. Score!

Place your frosted cake in the fridge for several hours. I actually kept mine in the fridge overnight. This will help the frosting to set up nicely.
That's it! As always, my son loved licking the spatula at the end, as did I. We must taste test our work! I hope you and your family have as much fun making this as we did. I want to see pics so follow me on social and post yours.
This site contains affiliate links. Affiliate link means I may earn commission fees or referral fees if you make a purchase through my website. With no extra cost to you. Thank you for your support.

Want something fun delivered right to your inbox? I share my Mommy Tips, Beauty Secrets, Recipes, and Product Reviews. Subscribe today so you don’t miss out at www.MyRockerbeez.com
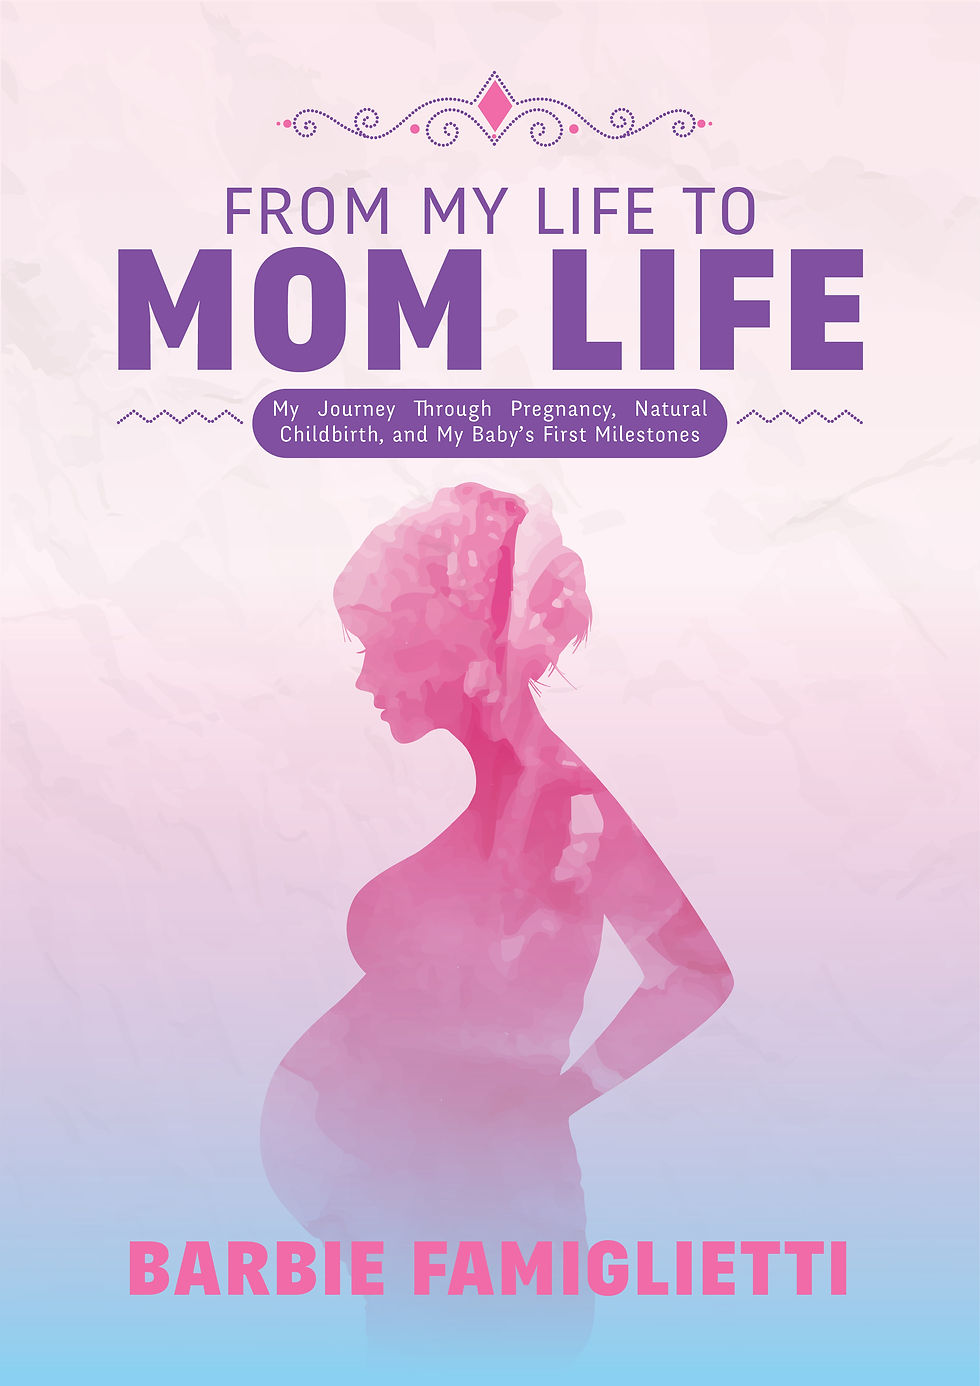
Did you know I also wrote a book?
Titled FROM MY LIFE TO MOM LIFE The only pregnancy guide you will ever need! Also a book perfect for new moms of newborn babies.
Available on Amazon: www.MyRockerbeez.com/my-book

I have a podcast too, if you want to hear more about getting your family on a healthier path www.AMommyAndAMic.com or available on Spotify, Apple Podcasts, and Google Podcast.
#Sweet #CookingKeto #CookOnceEatTwice #FamilyBaking #FallFavorites #FallIsHere #Moms #SugarFreeDessert #ChocolateCake #HealthyMomma #FoodBlogger #MomBlog


Comments